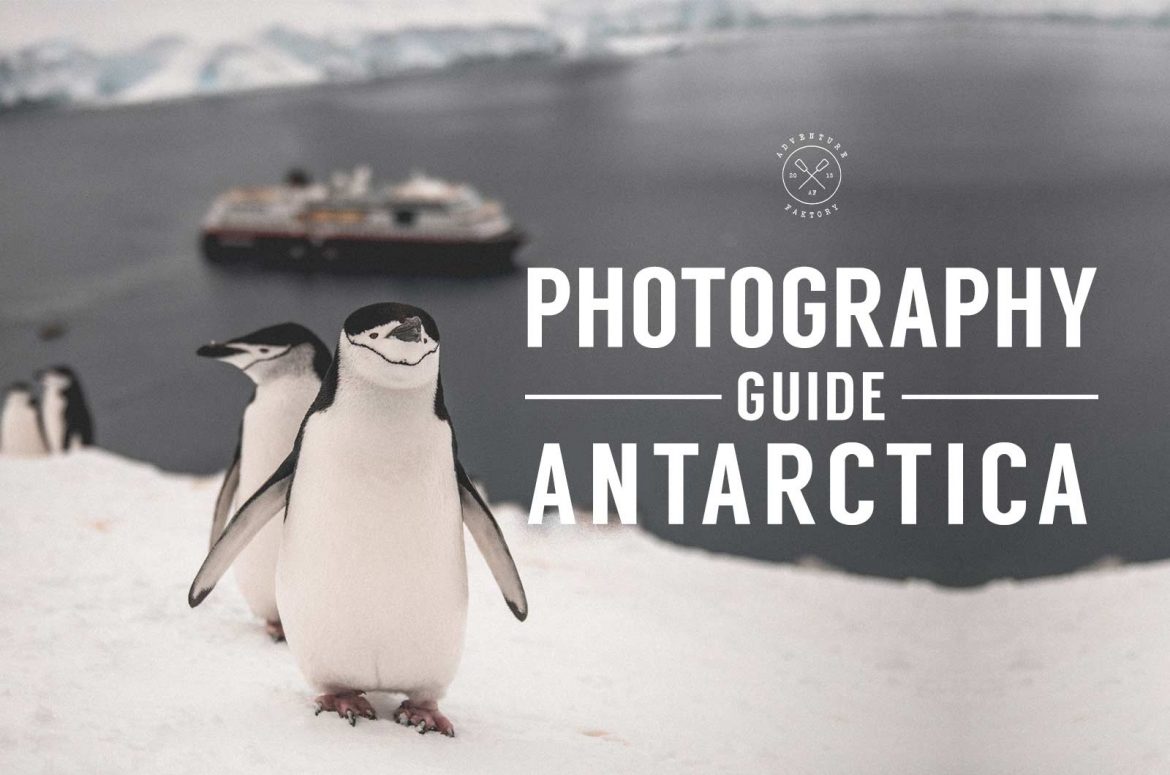
No need to have 5 blogs and websites open anymore, here is the complete photography guide for Antarctica!
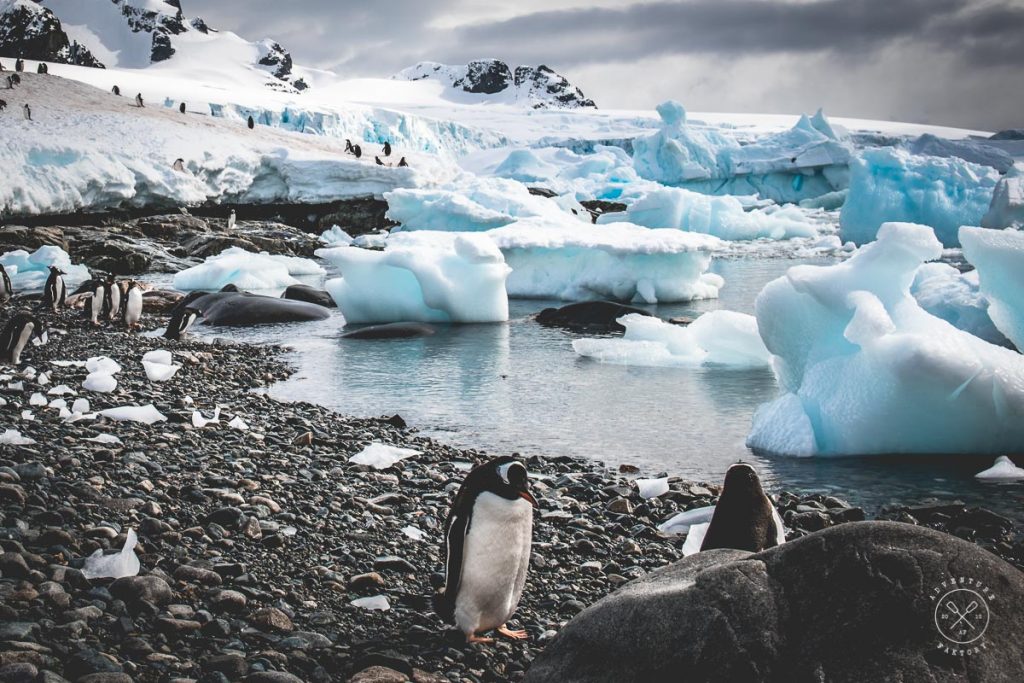
Visiting Antarctica is for those who are interested in our planet Earth. You will see pure nature. Tons of ice, rocks and animals … okay, a little bit of history as well from those who braved Antarctica before us.
After travelling to over 70 countries, we’ve witness pretty much all the waste we as humans have created pretty much everywhere … except in Antartica. No hotels, no trash in the ocean/waters, barely any human settlements other than few bases for research and abandoned buildings from the whaling and sealing times in the early 1900’s.
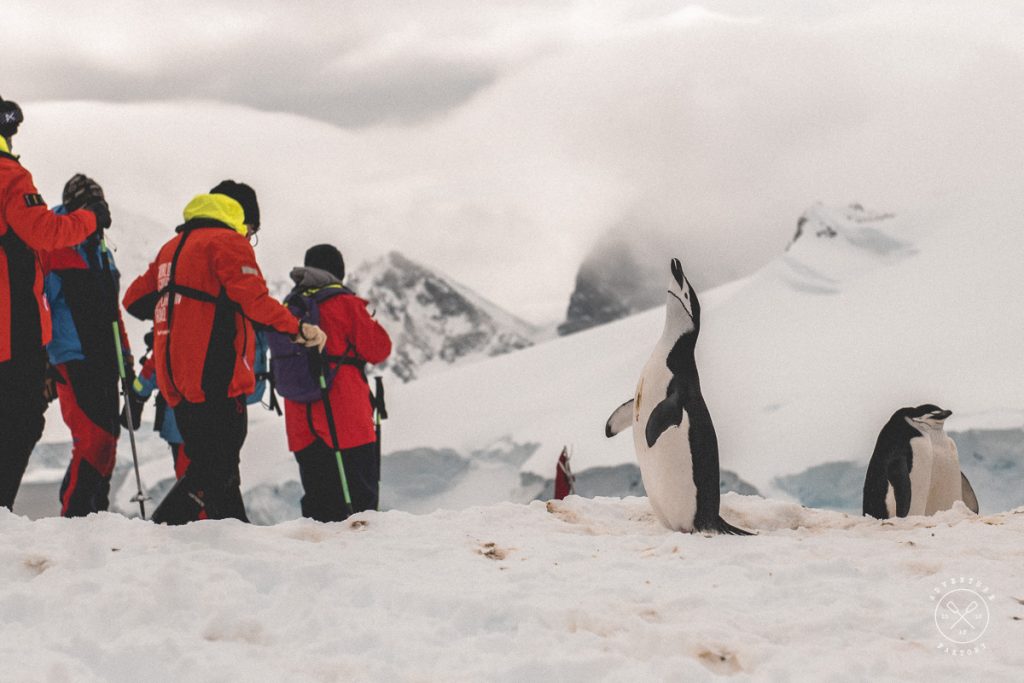
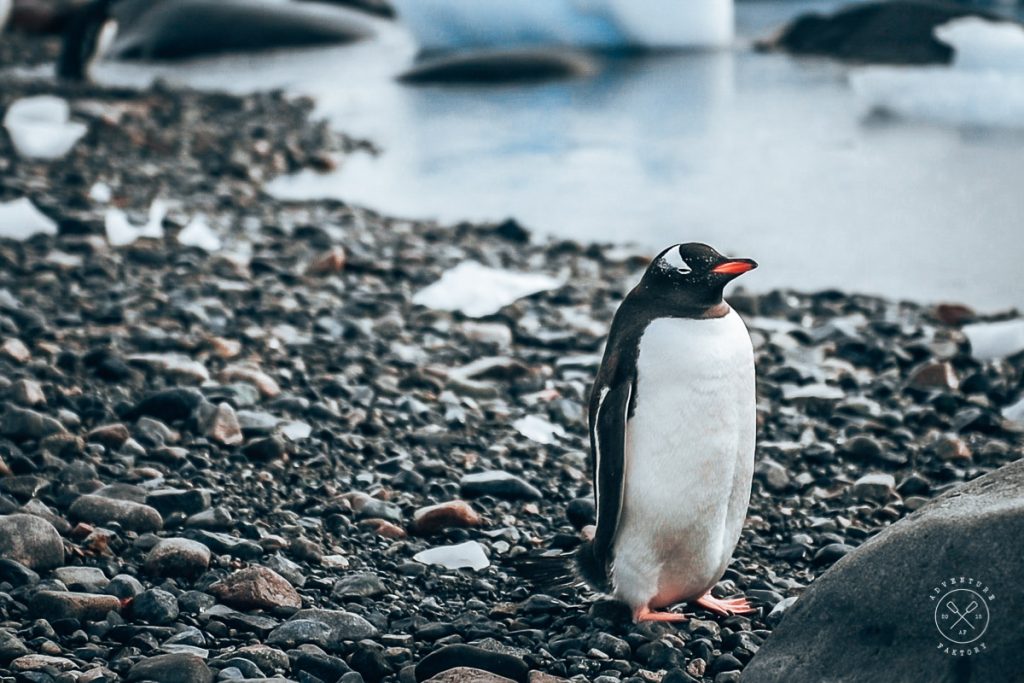
Being at this almost untouched place is great and to witness this many animals is wonderful. In Antarctica, you are a guest. Penguins have the right of way and you ABSOLUTELY do not touch them or approach too closely.
Photographing it is a really honour but also a real challenge. Harsh whites and also huge contrasts. Everyday, we learned something new in photographing this continent and its inhabitants.
Learned from our mistakes and with learnings along the journey, combined with a few tips given by the photographers on board that have shot Antarctica many times, we give you the ultimate guide for photography in Antarctica.
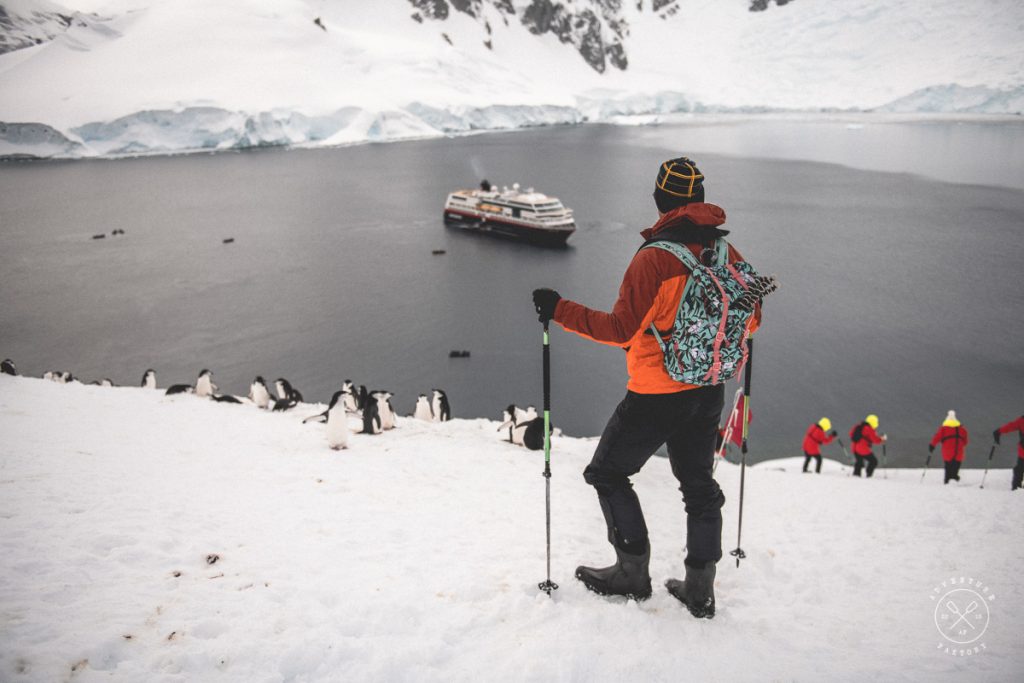
Note that during this trip, we were shooting with a Nikon D850 with a 14-24mm and 24-70mm lens. We unfortunately didn’t have the chance to go purchase a better zoom lens, which we regret a lot. Some tips below are only relevant to those that own a DSLR camera, but most can be applied to all types of camera equipment and are good advice for all levels of photographers.
Ok let’s start this list of essential tips for photographing Antarctica.
1) Choose your expedition ship wisely
Why do we start with this tip that seems to have no relationship to photography? Because it’s actually quite essential for your photography. Here’s why.
Choosing a good expedition ship is what will set your comfort to shoot well but most importantly, it will allow you to land at places you can have more photography opportunities and activities to get diverse shots. The best expedition companies will choose the best landing sites and will arrange the best plan B or C if the weather doesn’t permit a landing. Note that during an Antarctica trip, the weather dictates everything. In our case from the Middle East, we wanted to go with Hurtigruten, which has an exclusivity booking service with EduOutings, an agency based in Dubai. They will cater for everyone in the UAE, Oman, Saudi and other places in the GCC.
The reason why you should go with EduOutings is because they are the only agency in the Middle East specializing in expedition cruises to polar destinations and places in between. Their exclusive partnership with Hurtigruten is the most important part because Hurtigruten has 125 years of experience organizing such polar water expeditions. Their ships are 5 star quality service for cabins (treated like a hotel) and food. The food on Hurtigruten expeditions are easily comparable to premium hotels and we reckon was better than many luxury hotels we have been to in the past.
Most importantly, remember that you don’t need a fancy camera to take great photographs. The key is to know how to take photos with the camera you have. Believe us that even with an iPhone you will be able to get amazing shots!
2) Best time to travel to Antarctica for Photography
Depending on what you want to shoot the most, you will have to book your trip accordingly. If you like ice and Icebergs, best to go in the winter up until November. The Antarctic tour season typically runs from the month of November to March. The seasons are actually reversed from those in the northern hemisphere (summer is winter and vice versa).
If you are a fan of penguins and want tons of them with their chicks, you must know that they are on their nests with eggs or/and giving birth to chicks from end of November to January. In November, you will likely see them waiting for the snow to melt and choosing their nesting spots. Newborn chicks are usually to be seen towards the end of the season from end of December and January through March.
3) Do bring all your type of cameras from iPhones,
360 cameras, Instax, DSLR, point and shoot, adventure cameras (Nikon, GoPro, etc) if you are a content creator. You will enjoy having many occasions to shoot different type of things.
- Adventure cameras for kayaking, camping, boat rides and even sliding down hills during your landings
- DSLR for your general photography
- Point and shoot for filming yourself talking (vlogging)
- 360 camera for fun moments like kayaking and on tender boats
- Camera of your smartphone for everything else and documenting random moments. It is also very useful for documenting information such as signs about types of birds, whales, etc.
- Drones are strictly prohibited whatever company to go with. You will need a permit from the IAATO and these take time to get + expensive!
4) Know your equipment
Whether you have the best camera or not, if you don’t know your camera, you will get poor results. What we mean is that you can know your point and shoot very well and capture great moments and have the best DSLR out there and get photos you are not happy with because you were unable to play with your camera and know how to get the most out of it. So our advice is that if you are buying a new camera for this trip, make sure you have time to practice and know your gear before shooting in Antarctica.
5) Bring your best zoom lenses
One thing you should know about Antarctica is that you will need a zoom lens as you need to keep distance from all animals for conservation purposes. Unless a penguin decides to slide right beside you, you must not take any step closer to them as it’s a rule. Hence having your zoom lens will permit you to get wonderful shots of all the wildlife you want. This applies to Icebergs as well since you will not get that close to them. Some photographers will advice you to have 2 bodies and have a lens on each to avoid changing lenses. If you have two bodies, why not, but most of us don’t have two bodies and let me assure you that it’s fine to change lenses except on days where there is a blizzard literally. Here are the recommended lenses to bring:
- Wide-angle (14-24mm or 16-35mm): great for high point views and to capture landscapes
- Mid-range (24-70mm or 24-105mm): used for general photography
- Telephoto (70-200mm or 100-400mm): ideal for photographing any type of wildlife
From experience and observation, the telephoto lens will be what you will use the most along your mi-range lens.
6) Don’t forget to bring a lens cleaner
Bring your lens cleaner and TONS of cloths. You will need them in all of your pockets in case one is missing. There will be snow and everything imaginable to make your lens dirty, so make sure you have it for a sharp photo.
7) Get a waterproof bag
Get one that is big enough to contain your lenses as well. Us for example didn’t bring our DSLR on kayaking because the bag was a bit too small. The camera fit, but we knew it would be uncomfortable to remove it from the bag every time during the kayaking. I was also paranoid we would flip over so didn’t want to ruin the Nikon D850.
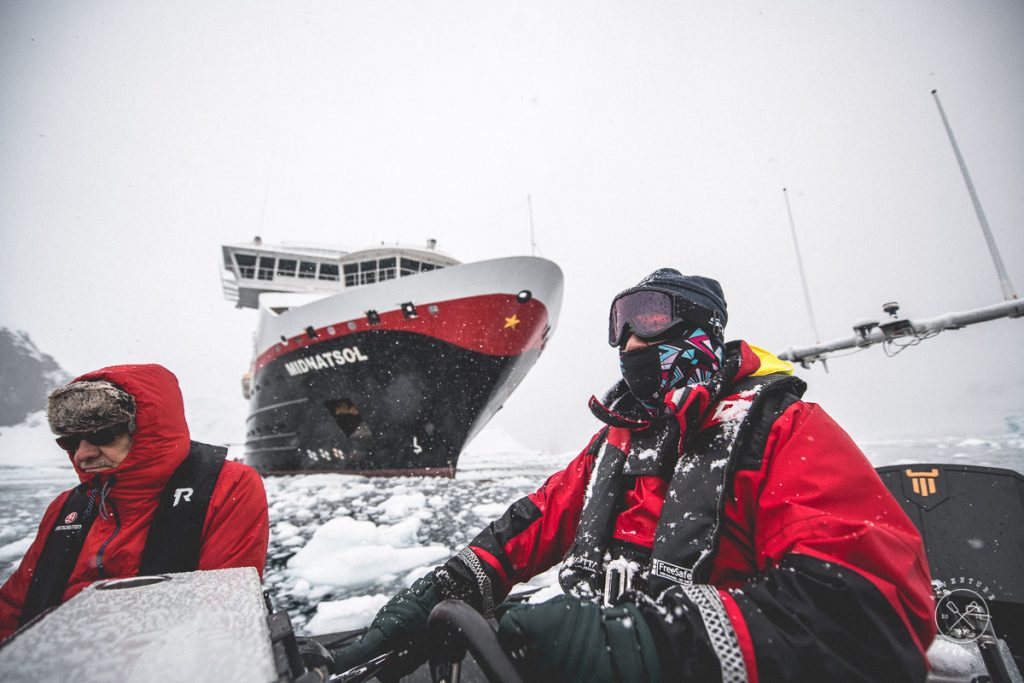
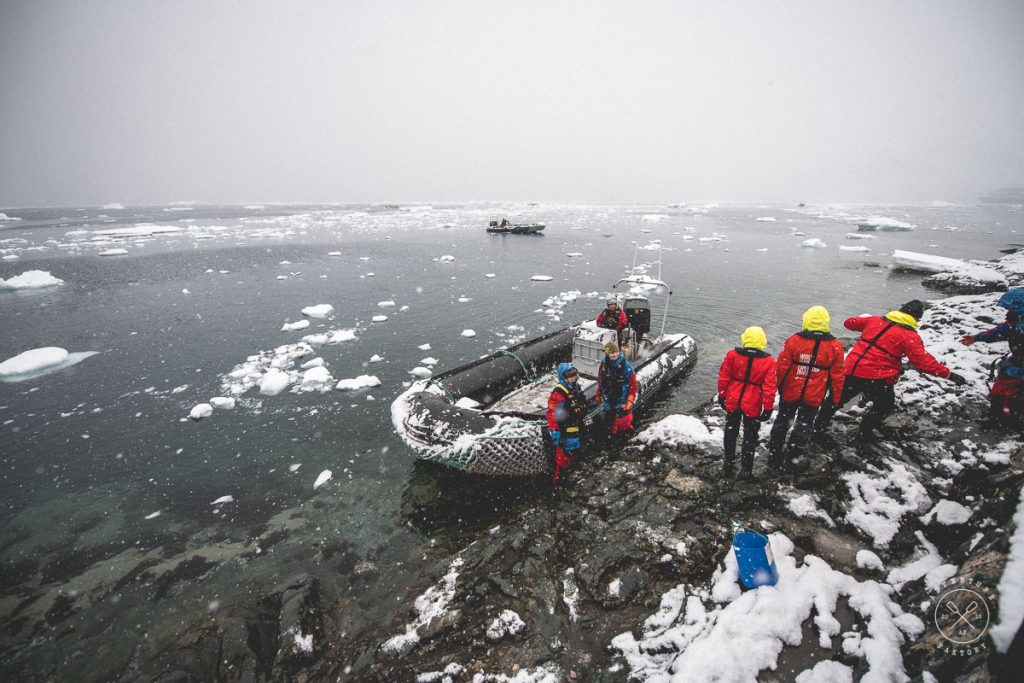
Waterproof bags will be useful for the rough rides on the zodiac or tender boat rides. We personally had the camera out a lot of times around our neck and it was all fine. Just important to have it with you for when the weather picks up.
8) If you have space, do bring your tripod
Some photographers would say to leave it at home but you will want to have to to take your own self photos and most importantly long exposures. There are not many trash cans or anything else for you to put your camera down to stabilize for a long exposure, so make sure to bring your tripod. This is a subjective advice though, do bring it only if you do long exposure photography a lot and do self photos like we do a lot to make sure our photos of us are the way we want it.
9) Shoot in RAW
If your camera permits it, do shoot in RAW even if it’s going to load up your memory card (simply transfer after each landing or activity). You probably already know this, but shooting in RAW will allow you to process the file and get creative with your photos without losing the quality of your photo. If you never have shot in RAW, we invite you to give it a go as we promise it will change your life forever.
10) Have spare batteries and memory cards
Mostly on the deck and landings do make sure to have extras. With the cold and the amount of photos you take, your battery will be more likely to die faster than usual so always have a spare one. Same goes with memory cards as you will take more photos than usual and will not have time during landing to clean up the duplicates or photos you don’t want.
11) Bring you laptop and hard drive
Do have a plan to back up photos along the way. The most logical way is to bring your laptop and a good hard rive such as the LaCie rugged which will keep your files very safe. You will want to edit along the way, see your photographs and find ways to improve. You will enjoy your photography and the process more if you do it as you go. Nothing worse than going home with a folder of hundreds or thousands of photos to go through.
12) Are filters for my lens essential for a trip to Antarctica?
Again, some would say it is essential, others not. For starters, a regular filter cap won’t hurt just for the protection of your lens. There will be water and snow and tons of wiping of the lens, hence having an extra protective filter will be to play it safe. Personally none of my lenses had one for my trip and I got away with it just fine. A polarizing filter could help by cutting down from glare created by the snow or water and would intensify the cooler of the sky, but it’s not essential to do great photos.
13) Socialize with the expedition photographers
Most good expeditions will have one or two photographers on board. These guys will offer photography tours, but also free sessions to teach you some tips and tricks. Do attend these lectures even though you might be a good photographer. Chat to them around the ship as they will be most likely around editing their photos. These guys are usually always happy to help you adjust few settings if you need assistance with your camera and if available will chat to you since most photographers to enjoy talking about photography.
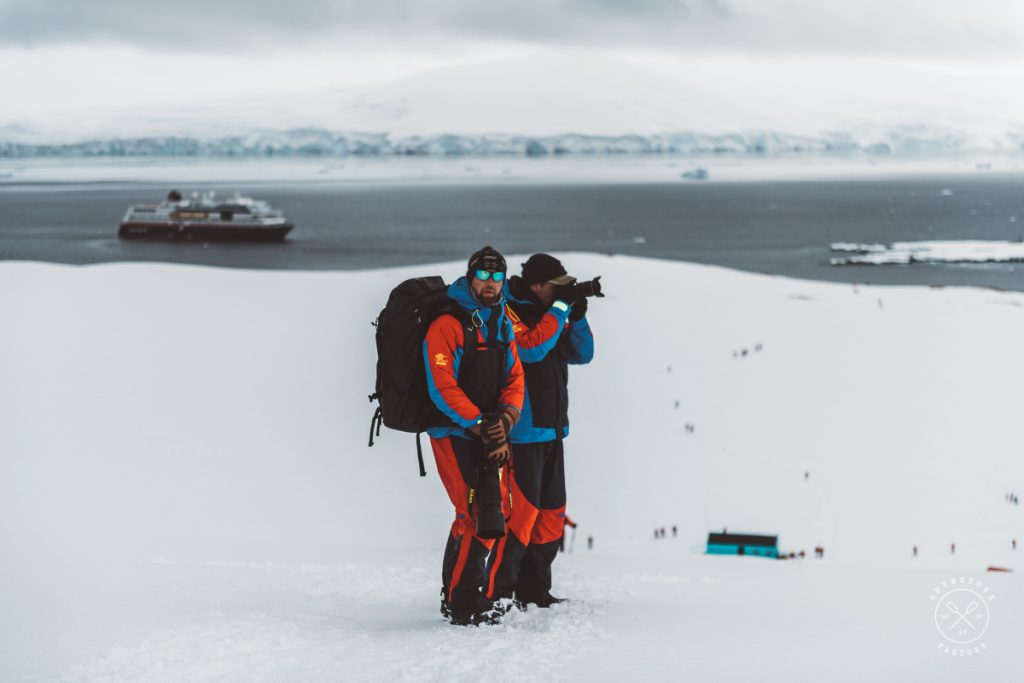
Now let’s get more technical to get the best photo in Antarctica.
This applies for those who own a DSLR but also some point and shoot that has a manual option, which will allow you to get some better photos than shooting automatic.
14) Freeze the moment: faster shutter speed
It’s the same as shooting action shots! The animals you will be shooting will not always pose for you and the best moments are more likely to be when they jump around, hence having a fast shutter speed will allow you to freeze the magical moment. In general, you will be moving a lot and on the boat you will be going up and down so shooting at a faster speed is always recommended.
15) Do adjust your depth of field
When you travel, you love that blurry effect behind a portrait or a photo of you in front of a dramatic landscape. But in Antarctica, sometimes you will NOT want to blur it out. You want to sometimes see whats behind that penguin you are shooting or simply see the penguins behind you when it’s a photo of you. Do not forget to play with your aperture to decide when you want the blurry effect or not for your photo.
16) Pay attention to your exposure for good highlights
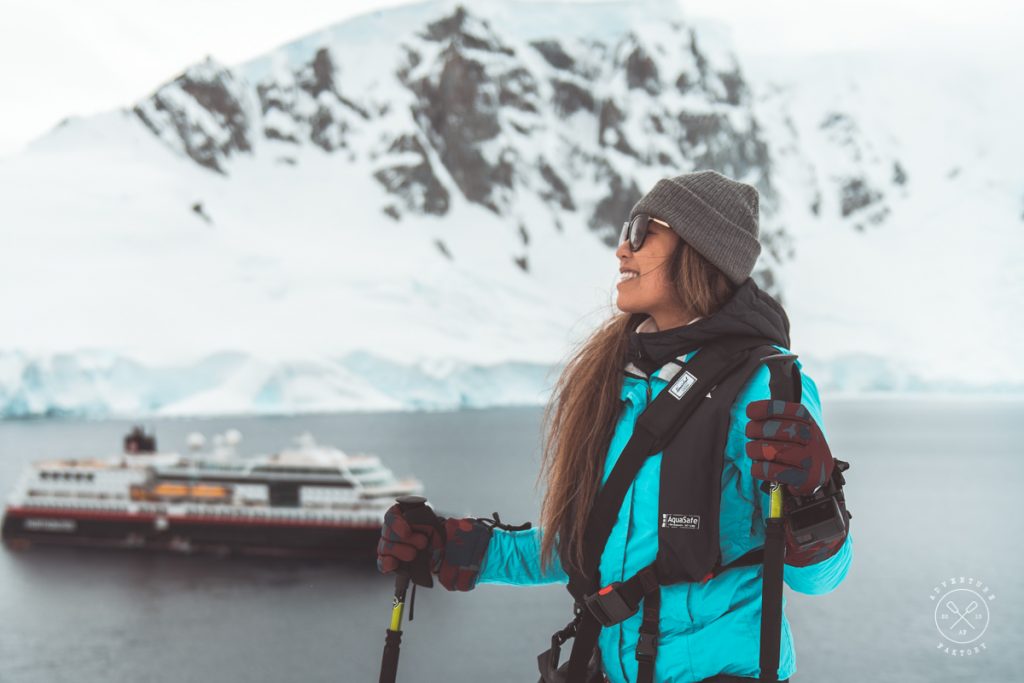
Polar photography is another game. We are lucky to have started photography in Canada where we do get every winter the opportunity to practice. So one thing you need to know about shooting in such conditions is the harsh whites, hence you should meter on your highlights. To do so, use the exposure compensation feature which will be the +/- button on your camera body. Note that some cameras do not resets it back to 0, so pay attention to fix it right depending on what you are shooting.
17) Switch off the flash
Flash photography is not good for Antarctica and worse for photographing wildlife. You want natural light but obviously and most importantly, you don’t want to disturb the animals and guests in your trip. If it’s too low light, use your tripod and take long exposure photos.
The hacks for taking better photos in Antarctica.
These tips are about things you can do to put chances on your side to get the best photos during your Antarctica trip. They are tips about composition and other hacks based on our own experience.
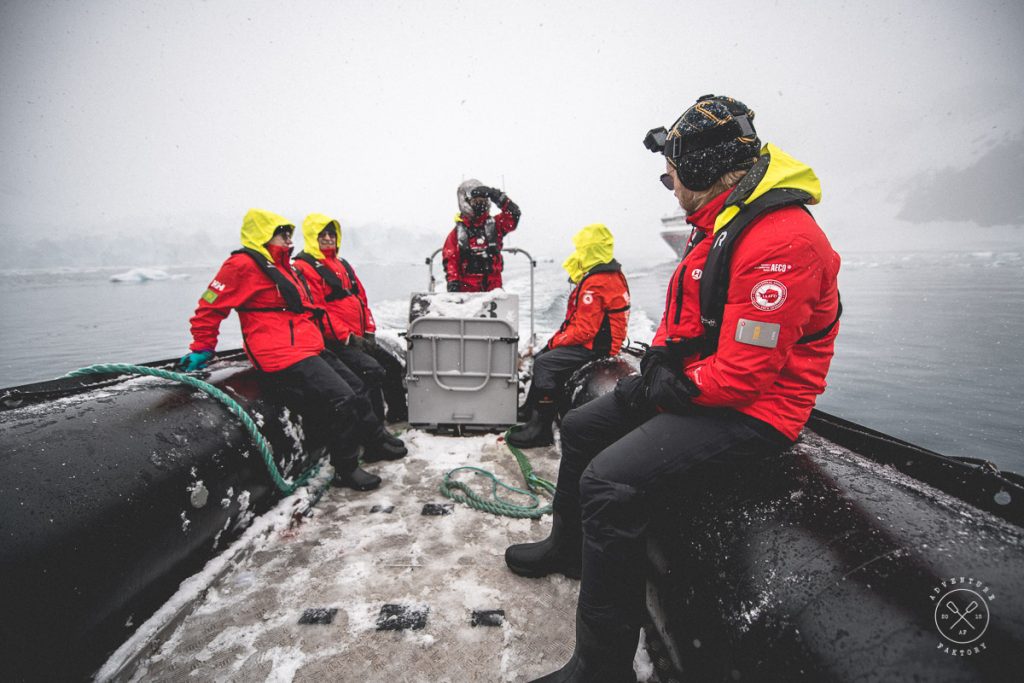
18) Sit in front of the zodiac/tender boat
You will have a few cruises and commutes on the boats to get to your landing. Ask to slide yourself in front or exchange with someone at that spot to give yourself some space to shoot. Since the subject isn’t always going to be on the right side of the boat, being in front will give you more chances to still be able to shoot your subject. Do respect the other passengers. We understand you can be frustrated someone is in your frame, but you can be as frustrating for them that just want to enjoy the moment and has you in their sights waving around a telephoto lens.
19) Don’t be shy to break the rules
We get it, follow the rules like use the rule of thirds, blah blah bla. But in Antarctica, don’t be afraid to also break the rules. It’s not a scenery like any other you’ve shot before so don’t hesitate to get creative. Sometimes you won’t even have time to frame correctly so do let yourself some space around the subject to then reframe and readjust.
20) Be patient to freeze great moments
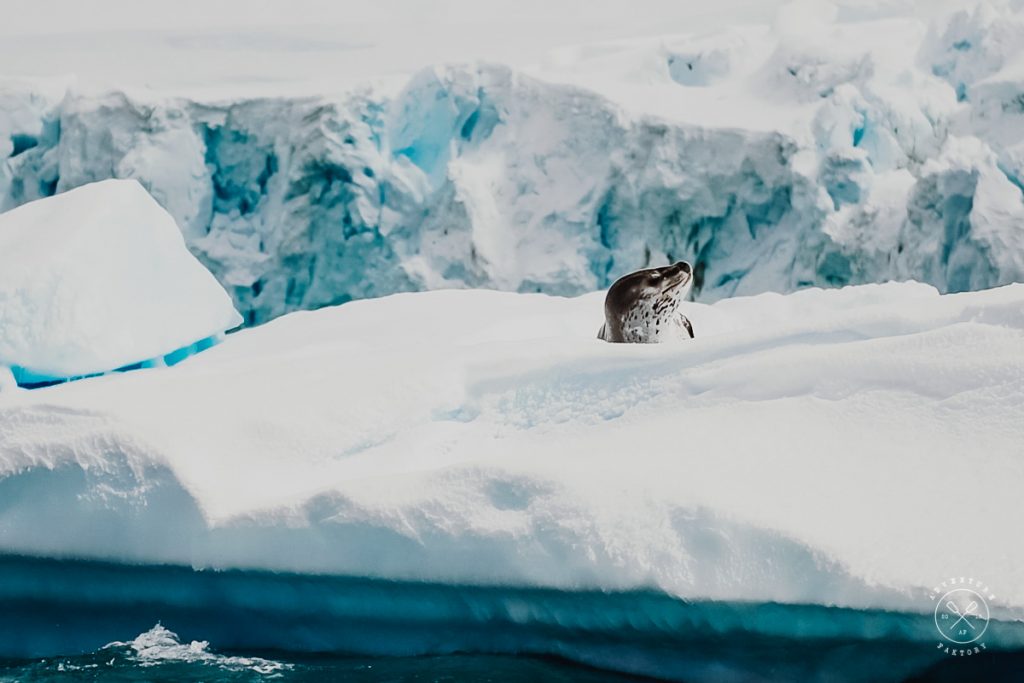
It’s easy to get a penguin standing, but you will want to get it when they are bowing, jumping in the water or into the water. You want to wait until your seal yawns or moves since a seal laying on it’s back isn’t going to be much of a dramatic shot!
21) Sometimes, it’s worth it to film the moment
This was our case. How many photos of whales or seals do you need? Give yourself few moments to capture videos. My advice is to get them in slow motion if your camera let’s you. I personally shot 99% of my videos in slow motion with the Nikon D850 because it’s so high quality and gives me more memories. If you can’t shoot slow motion on your camera, chose the settings that has the highest frame per second, ideally 60FPS minimum.
22) Get low and get dirty!
Yes! Nothing beats shooting wildlife at their level. There is a deeper connection to shoot the photos at their level than from above so if you can, lay down there and snap away!
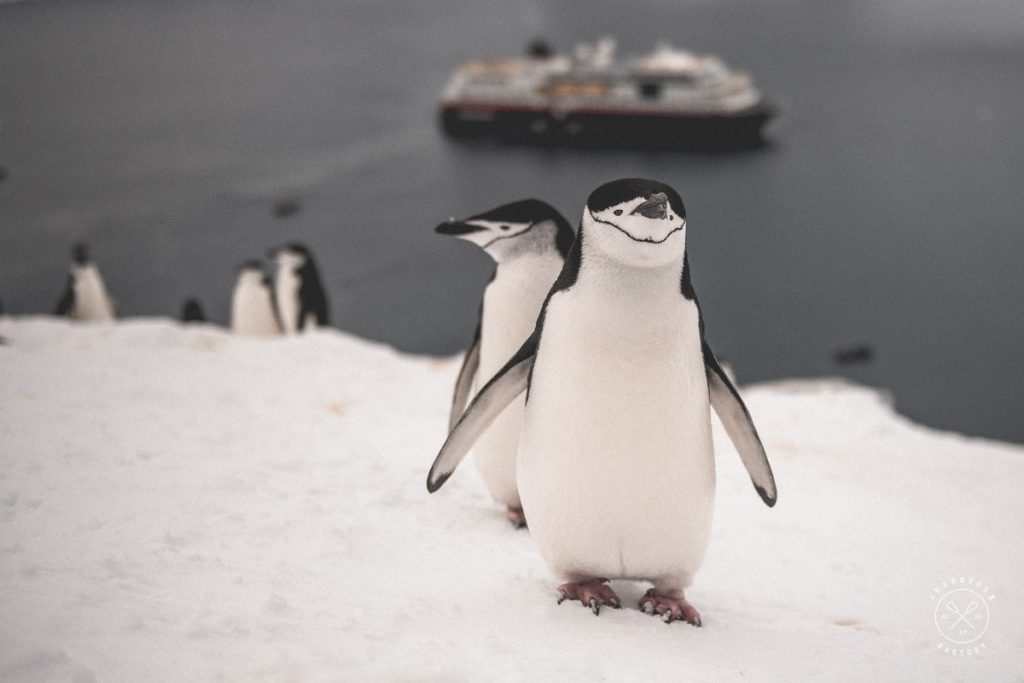
23) Try to have references in your photo to show the scale of things
Things can be tiny or huge and to be able to get the sense of scale so don’t forget to find a reference. It can be a human, a boat, a penguin, a tender boat, any subject you can include in your frame to be able to show the scale of things you are shooting.
24) Review your photos along the way
Like we’ve mentioned somewhere above, do have your laptop and hard drive and start processing your photos along the journey. You will be able to enjoy the process of taking photos more if you do so and most importantly, be able to improve your shots from being them on a full screen laptop versus your viewfinder
25) Take multiple shots of the same photos
Don’t take the chance, just take tons of the same subject and delete it after before transferring! Like that, you will make sure to not fail.
26) Enjoy the journey
Of course, in the end, you will have to enjoy the journey. Don’t forget to put down the camera and enjoy the views and just sit down and try to listen to the winds and other noises. Bon voyage!
Interested to experience Antarctica?
Learn more about itineraries and pricing right here!
If you like this article, follow our Adventures on Facebook, YouTube, Twitter, Instagram @adventurefaktory, but most importantly sign up to our E-mail list to keep up with updates and travel trends + deals!

